
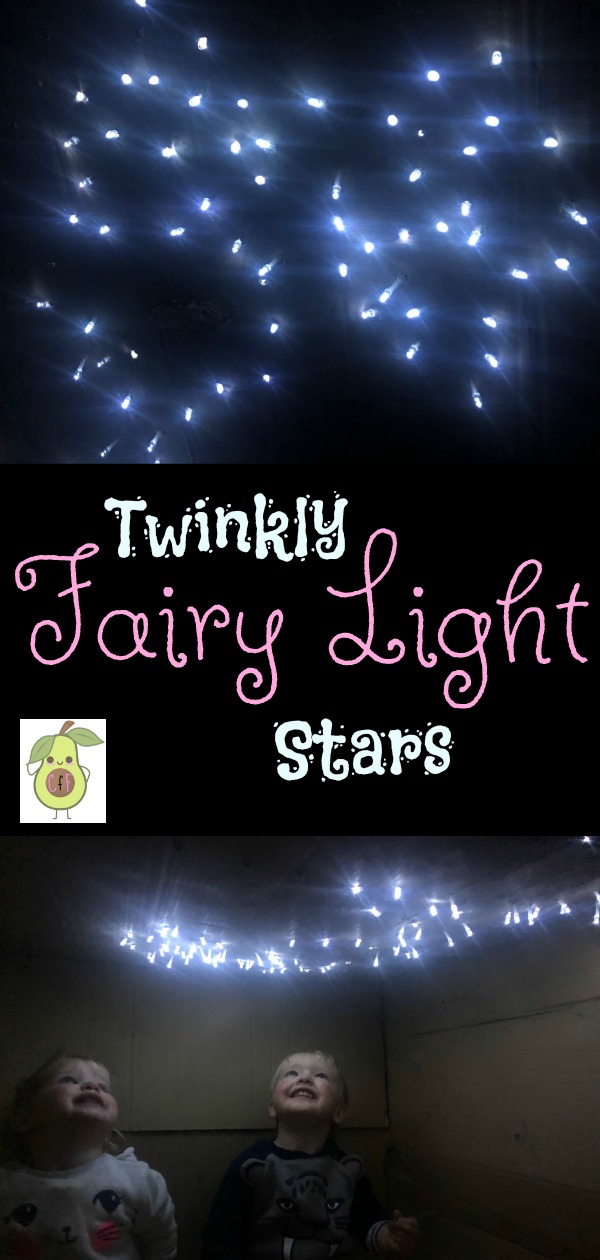
Twinkly Fairy Light Stars
Twinkly Fairy Light Stars in a Cardboard Box.
A large, empty cardboard box brings unlimited possibilities; like twinkly fairy light stars.
Everyone knows that young children always end up showing more interest in the boxes the gifts came in rather than the actual gift. Makes you wonder why so much money is spent on expensive toys when they’re little?
This cardboard box was definitely an expensive one, there were no toys in it though. It was from a new oven. And the fun that we’ve had with it so far has been priceless.
Discovering the Box.
We added it to the twins’ play area when they were asleep. To start with I just left it plain. It’s a huge box, so it obviously didn’t take long for them to notice it. They spent the afternoon crawling in and out and bobbing up and down knocking their heads on the top of it. Apparently that was hilarious for them.
Changing it up.
The next day I added a fitted sheet. Changing it up kept their interest and the sheet meant they could hide from us. This brought so much laughter because they could play peekaboo with each other and the adults on the other side of the sheet.
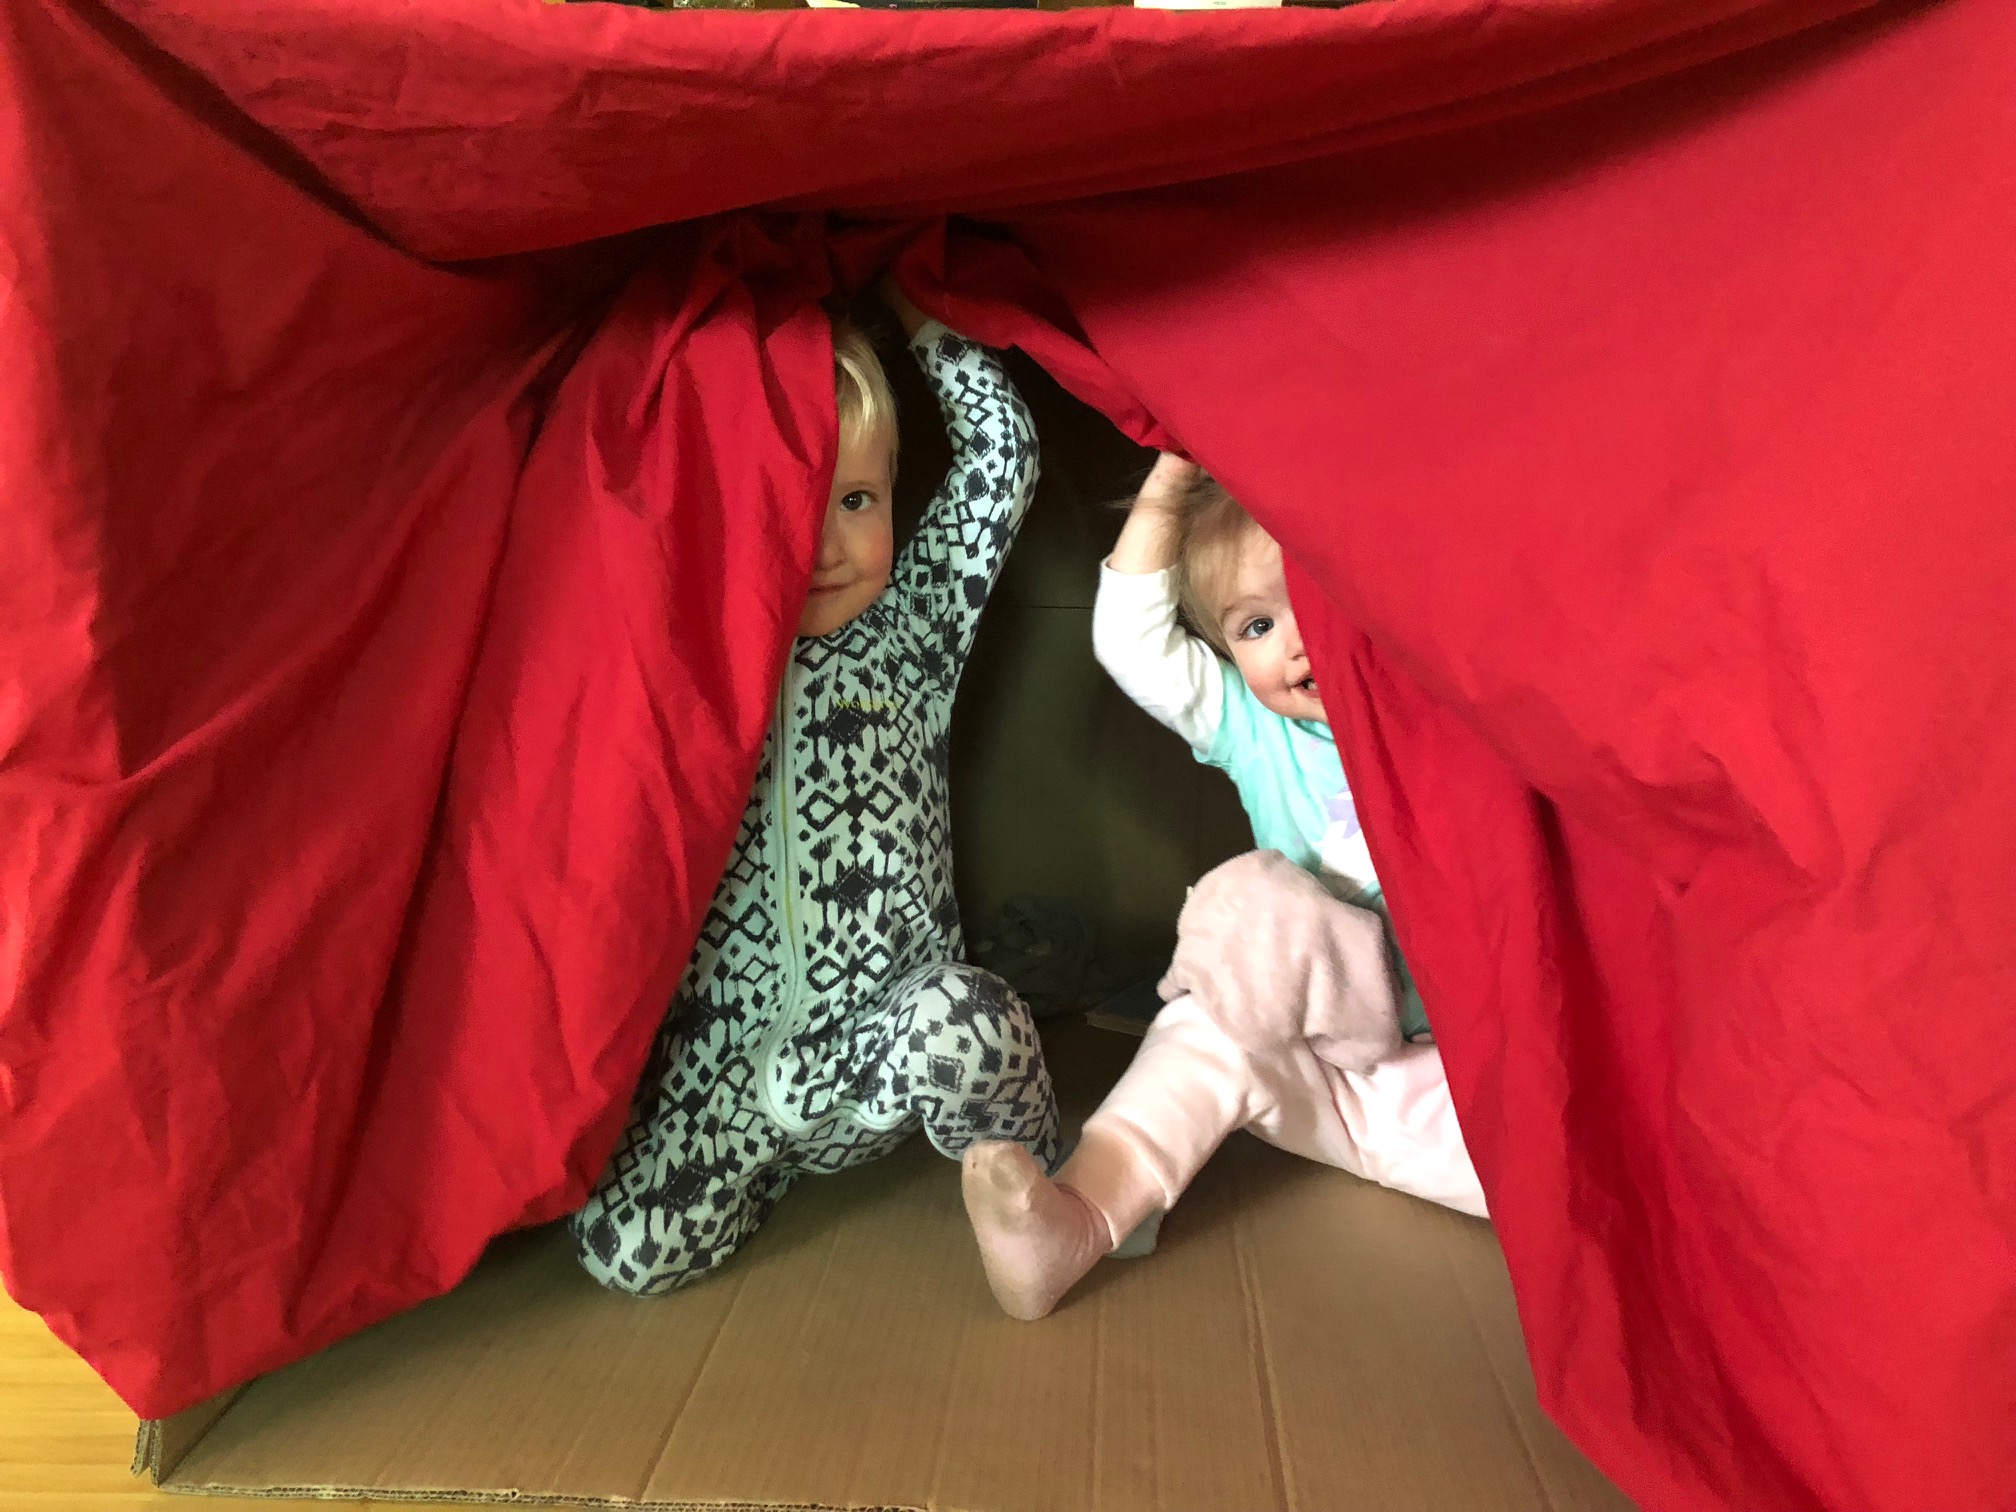
I left it alone for a couple of days. The twins still played in it, but definitely not as much.
I have an Idea!
A few mornings later it was nearly time for me to organise lunch and the kids were starting to get a little unsettled. “I have an idea” I said to them… as soon as the words are mentioned, they’re hooked.
If you’re interested take a look at some of my other ideas;
Painting with Recycled Cardboard Tubes
Colour Sorting with Shiny Gems
Threading with Cardboard Tubes
Twinkly Fairy Light Stars.
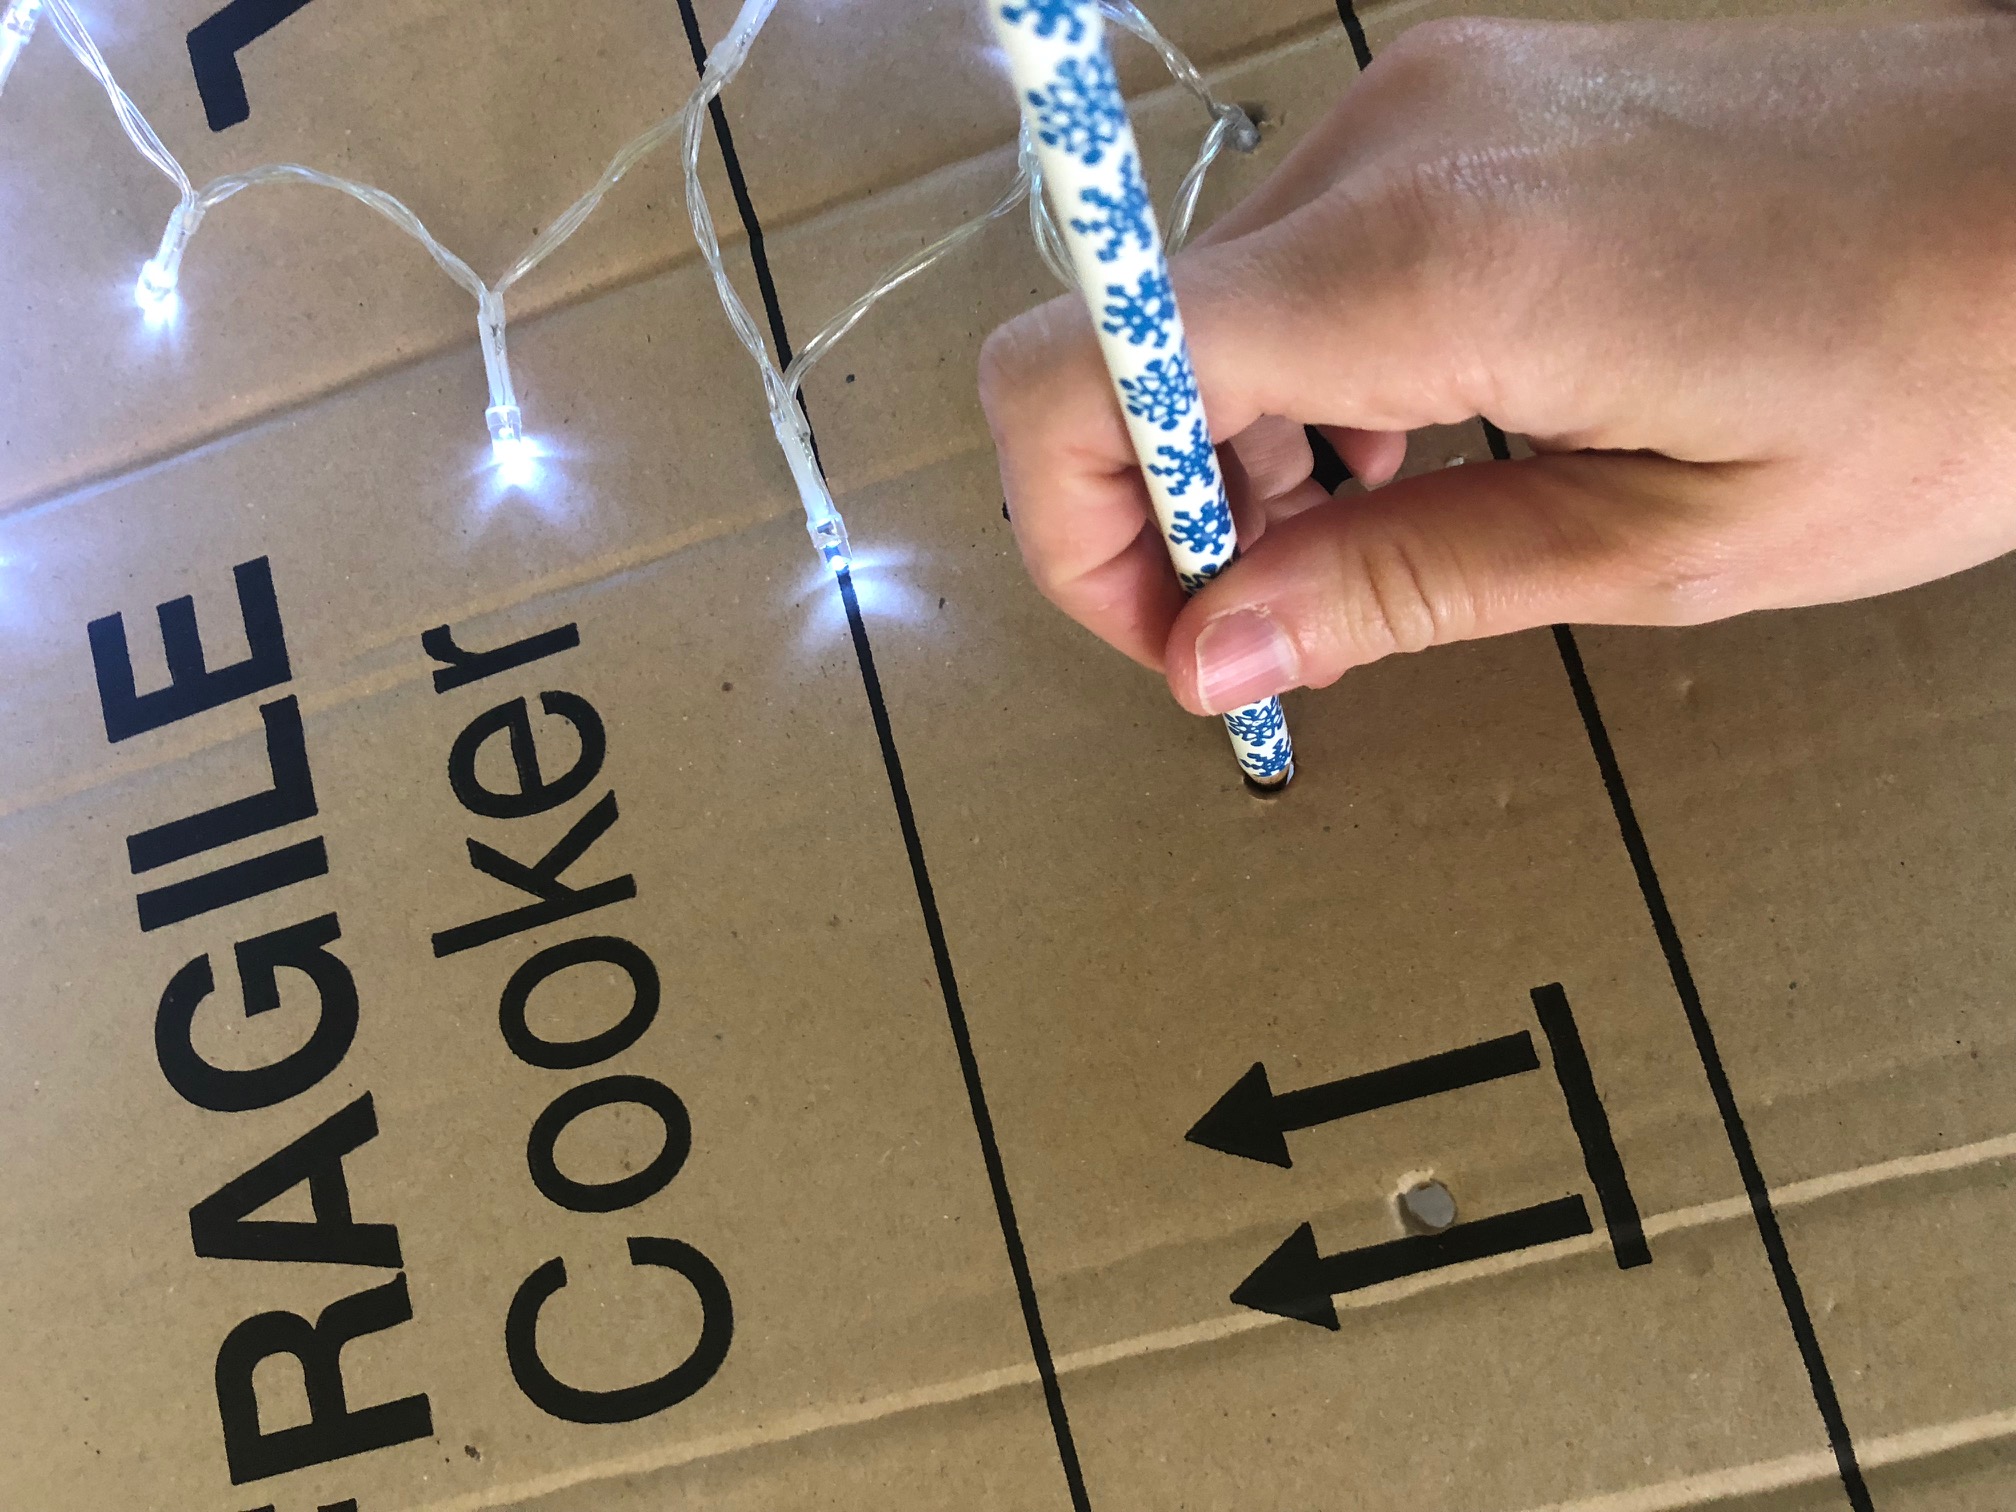
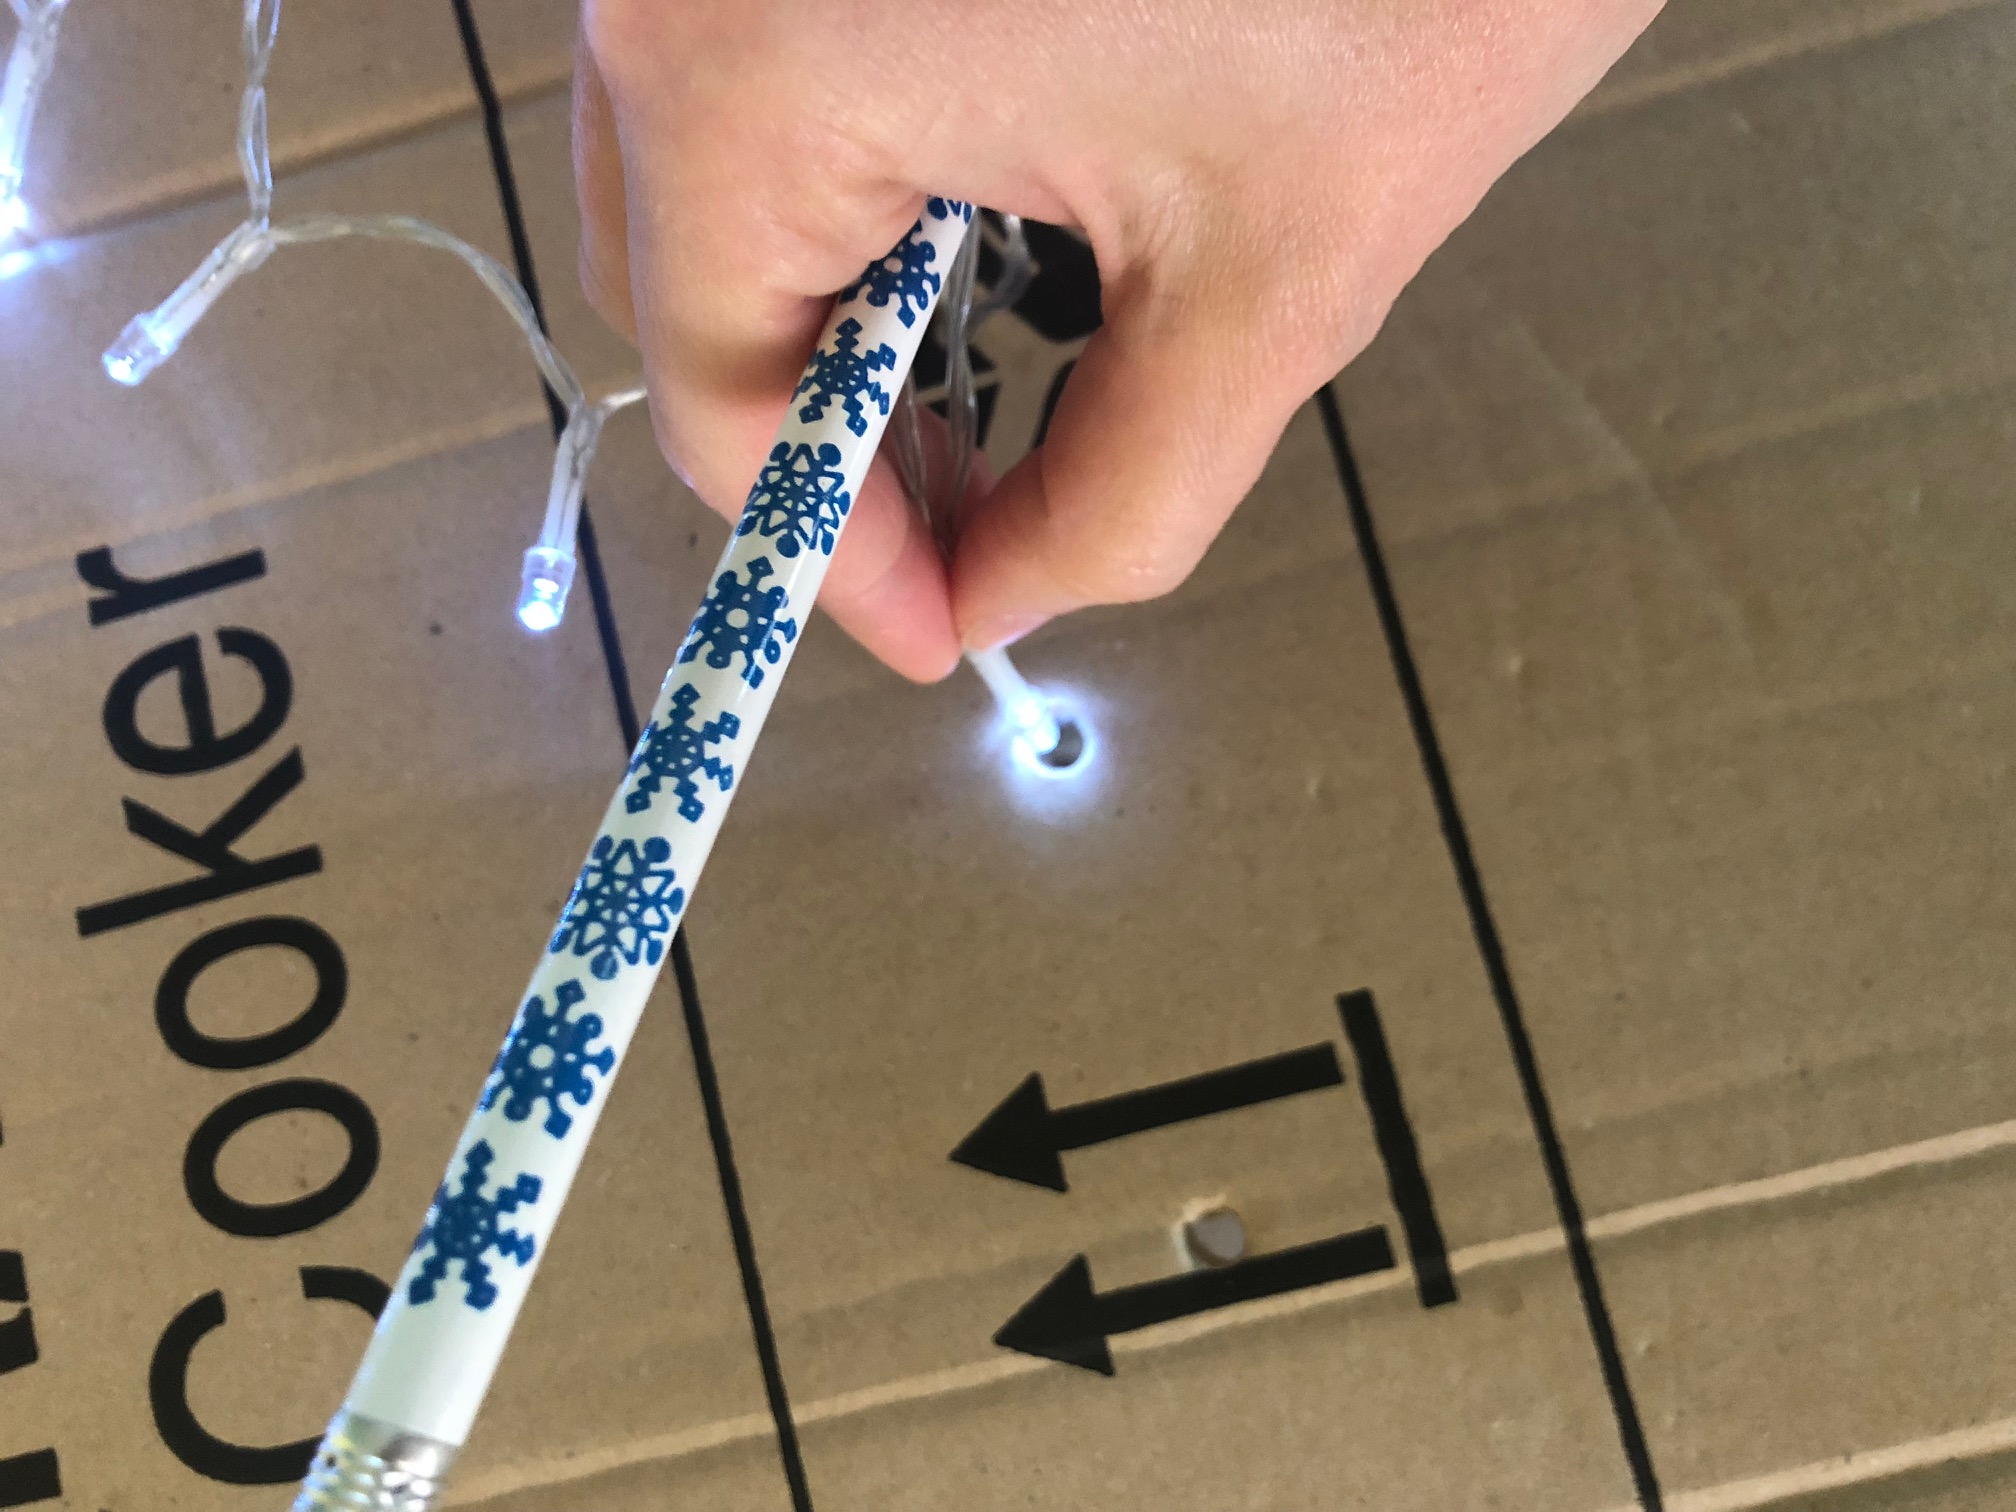
I took the battery operated fairy lights from out of our DIY light table and found myself a pencil. “Let makes twinkly fairy light stars for in the box” I said to them.
Setting it up.
We used the pencil to poke some holes in the top of the box. I started by putting a whole heap of holes in a row, before actually looking at the lights. That didn’t work so well, so I didn’t end up using most of them.
Instead I put a hole in the middle of the box and poked the first little fairy light through. Then I just kept adding more fairly close together and continued putting the fairy lights into the holes.
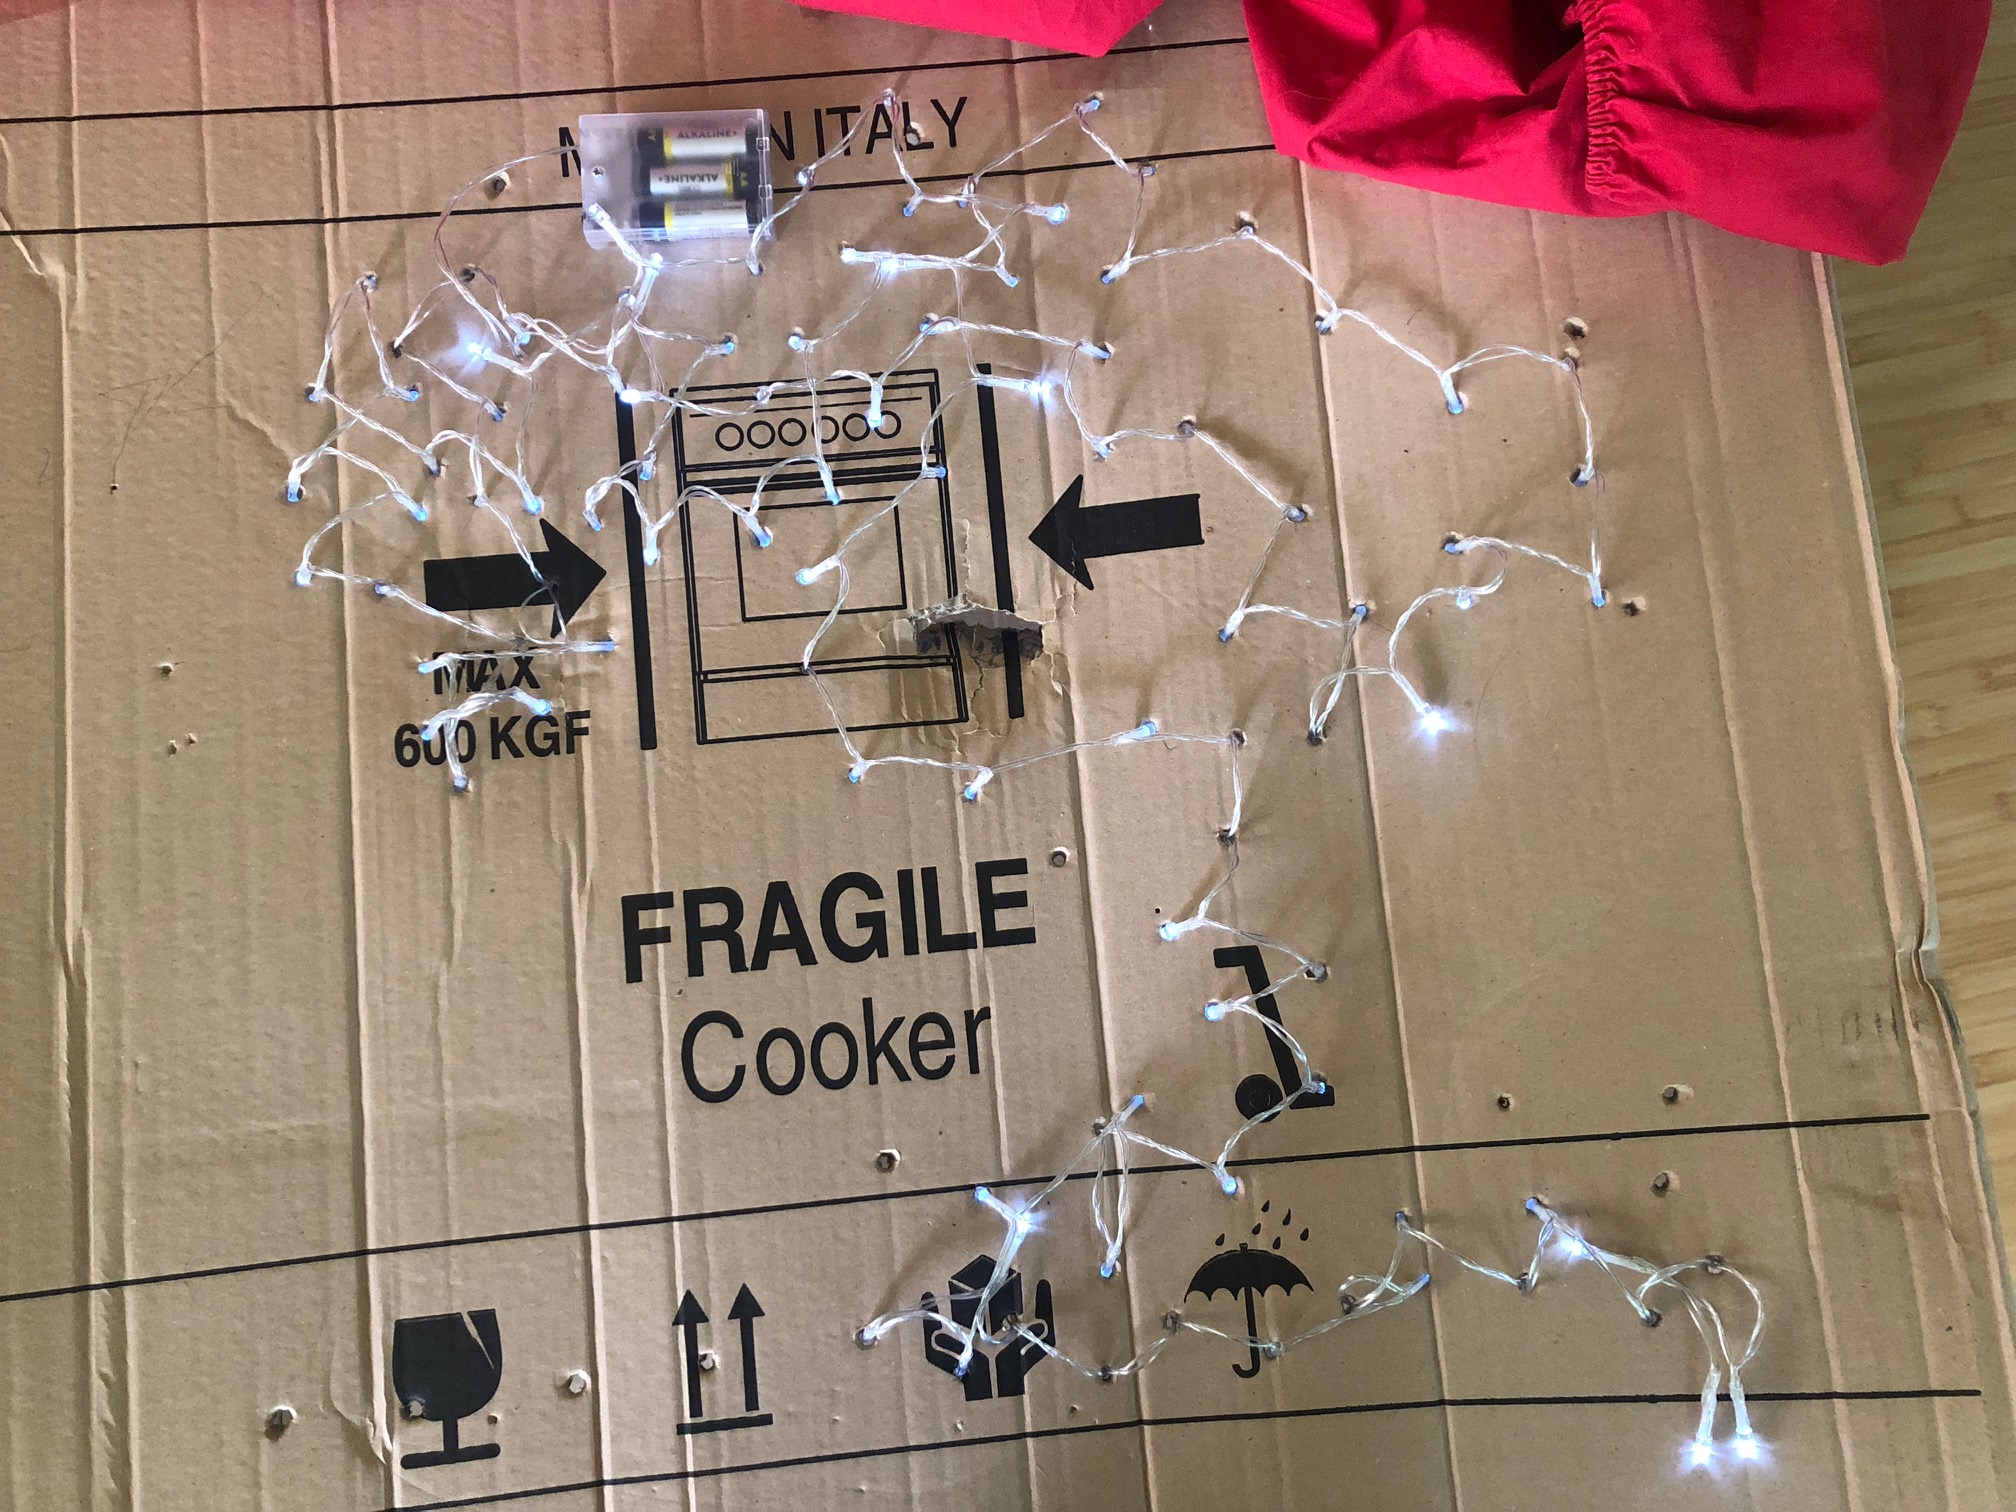 Cole helped by adding even more holes in the top of the box, but then decided drawing inside of the box was even better. He made some beautiful artwork all over the sides, floor and ceiling.
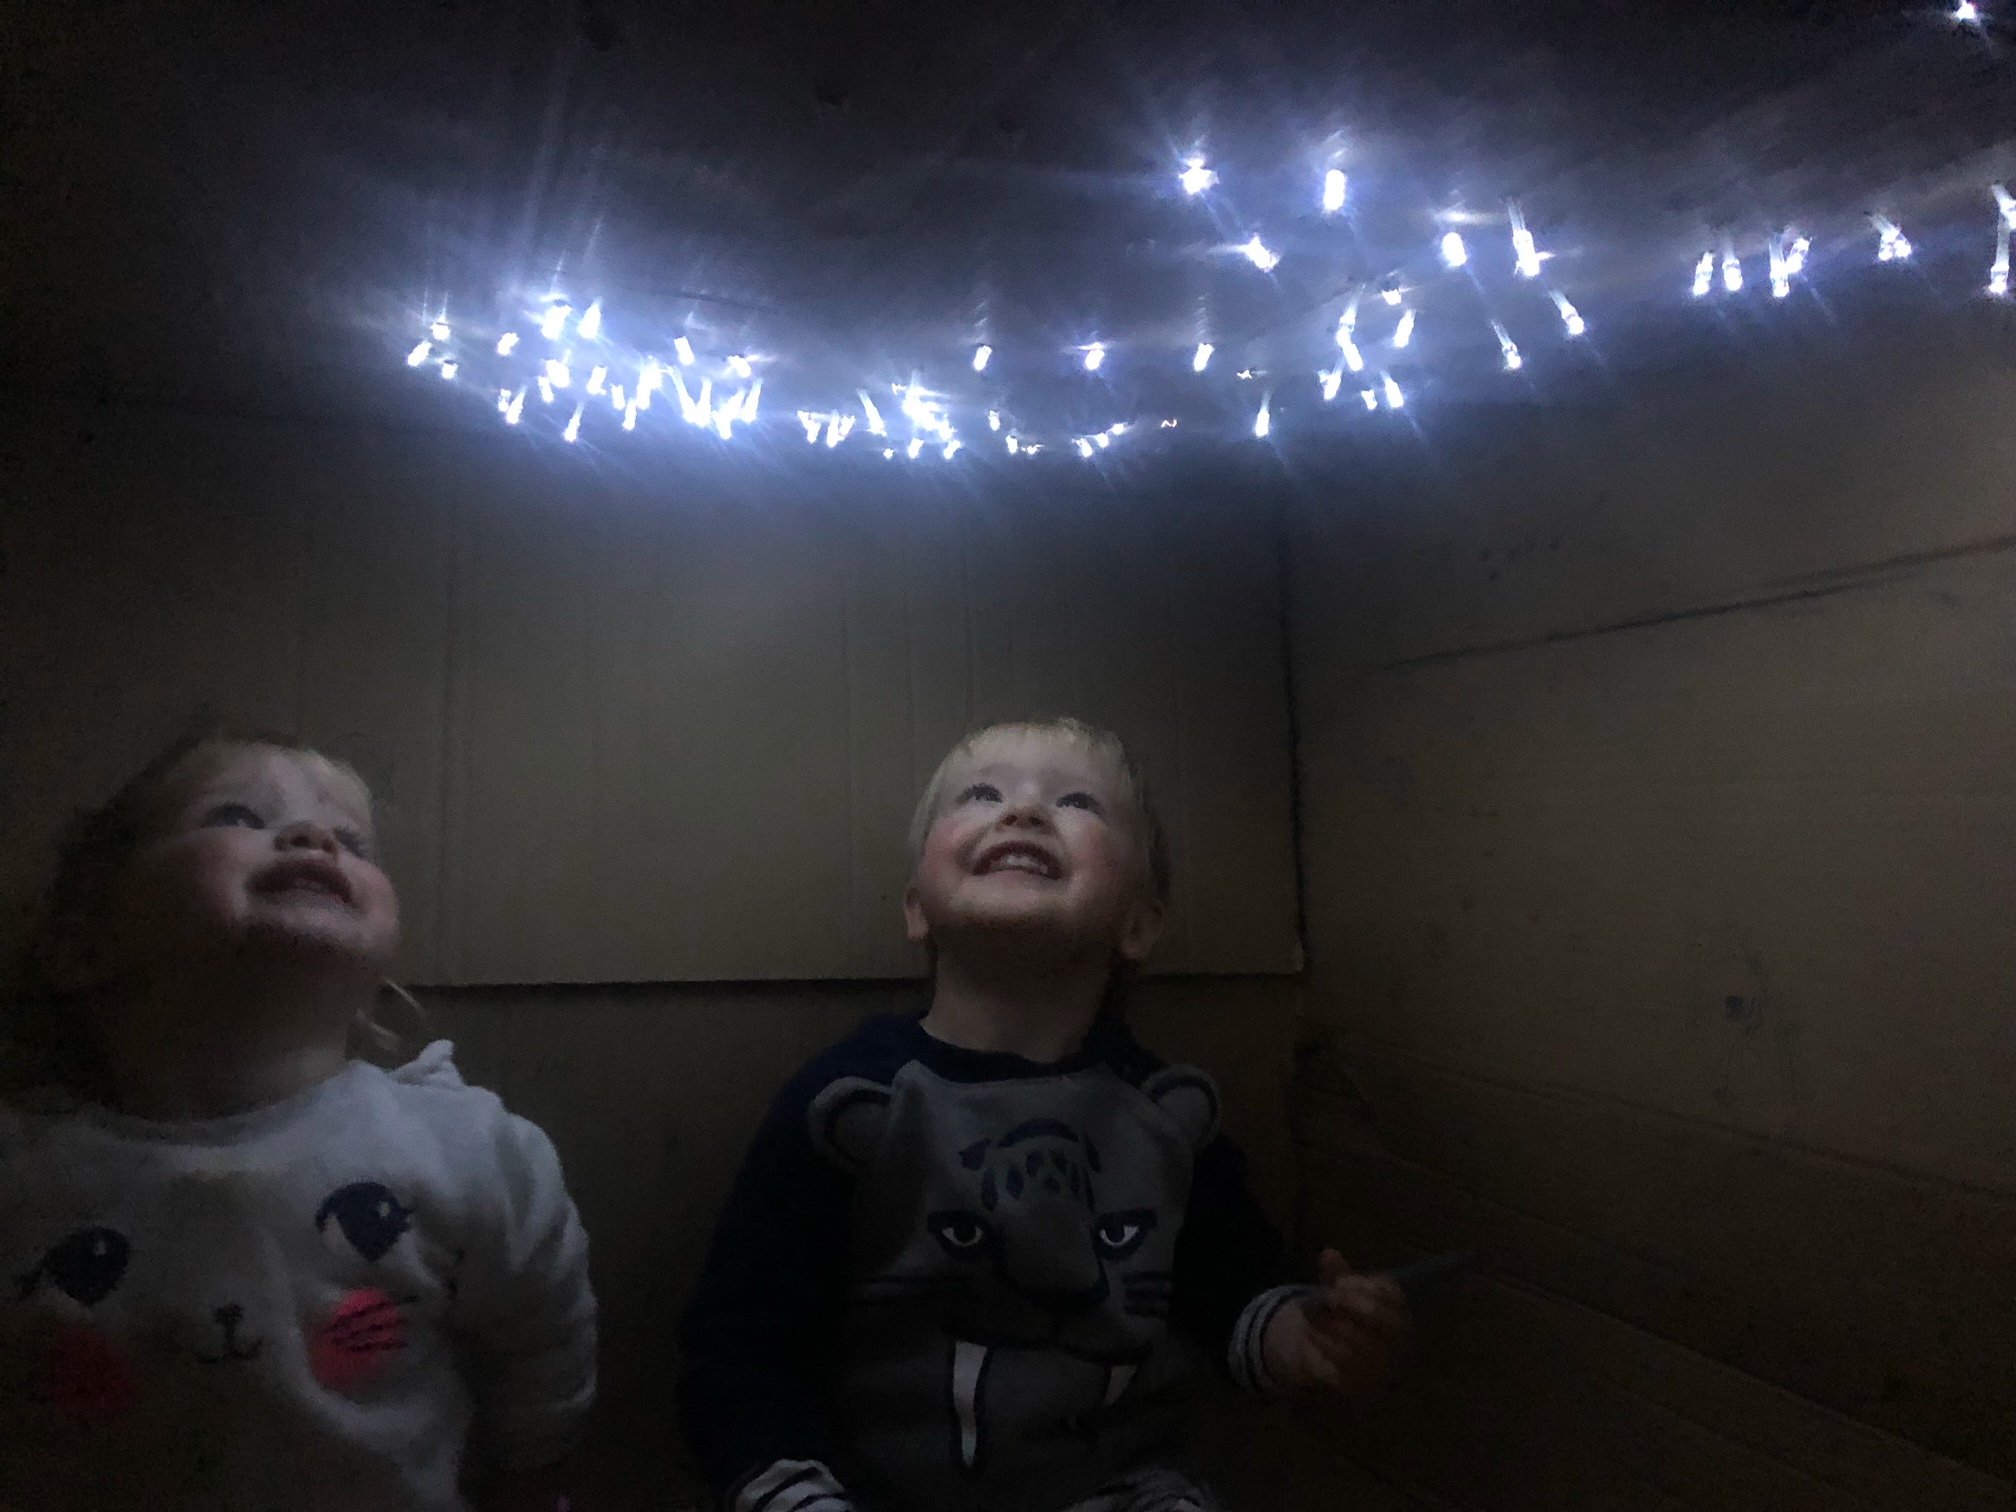
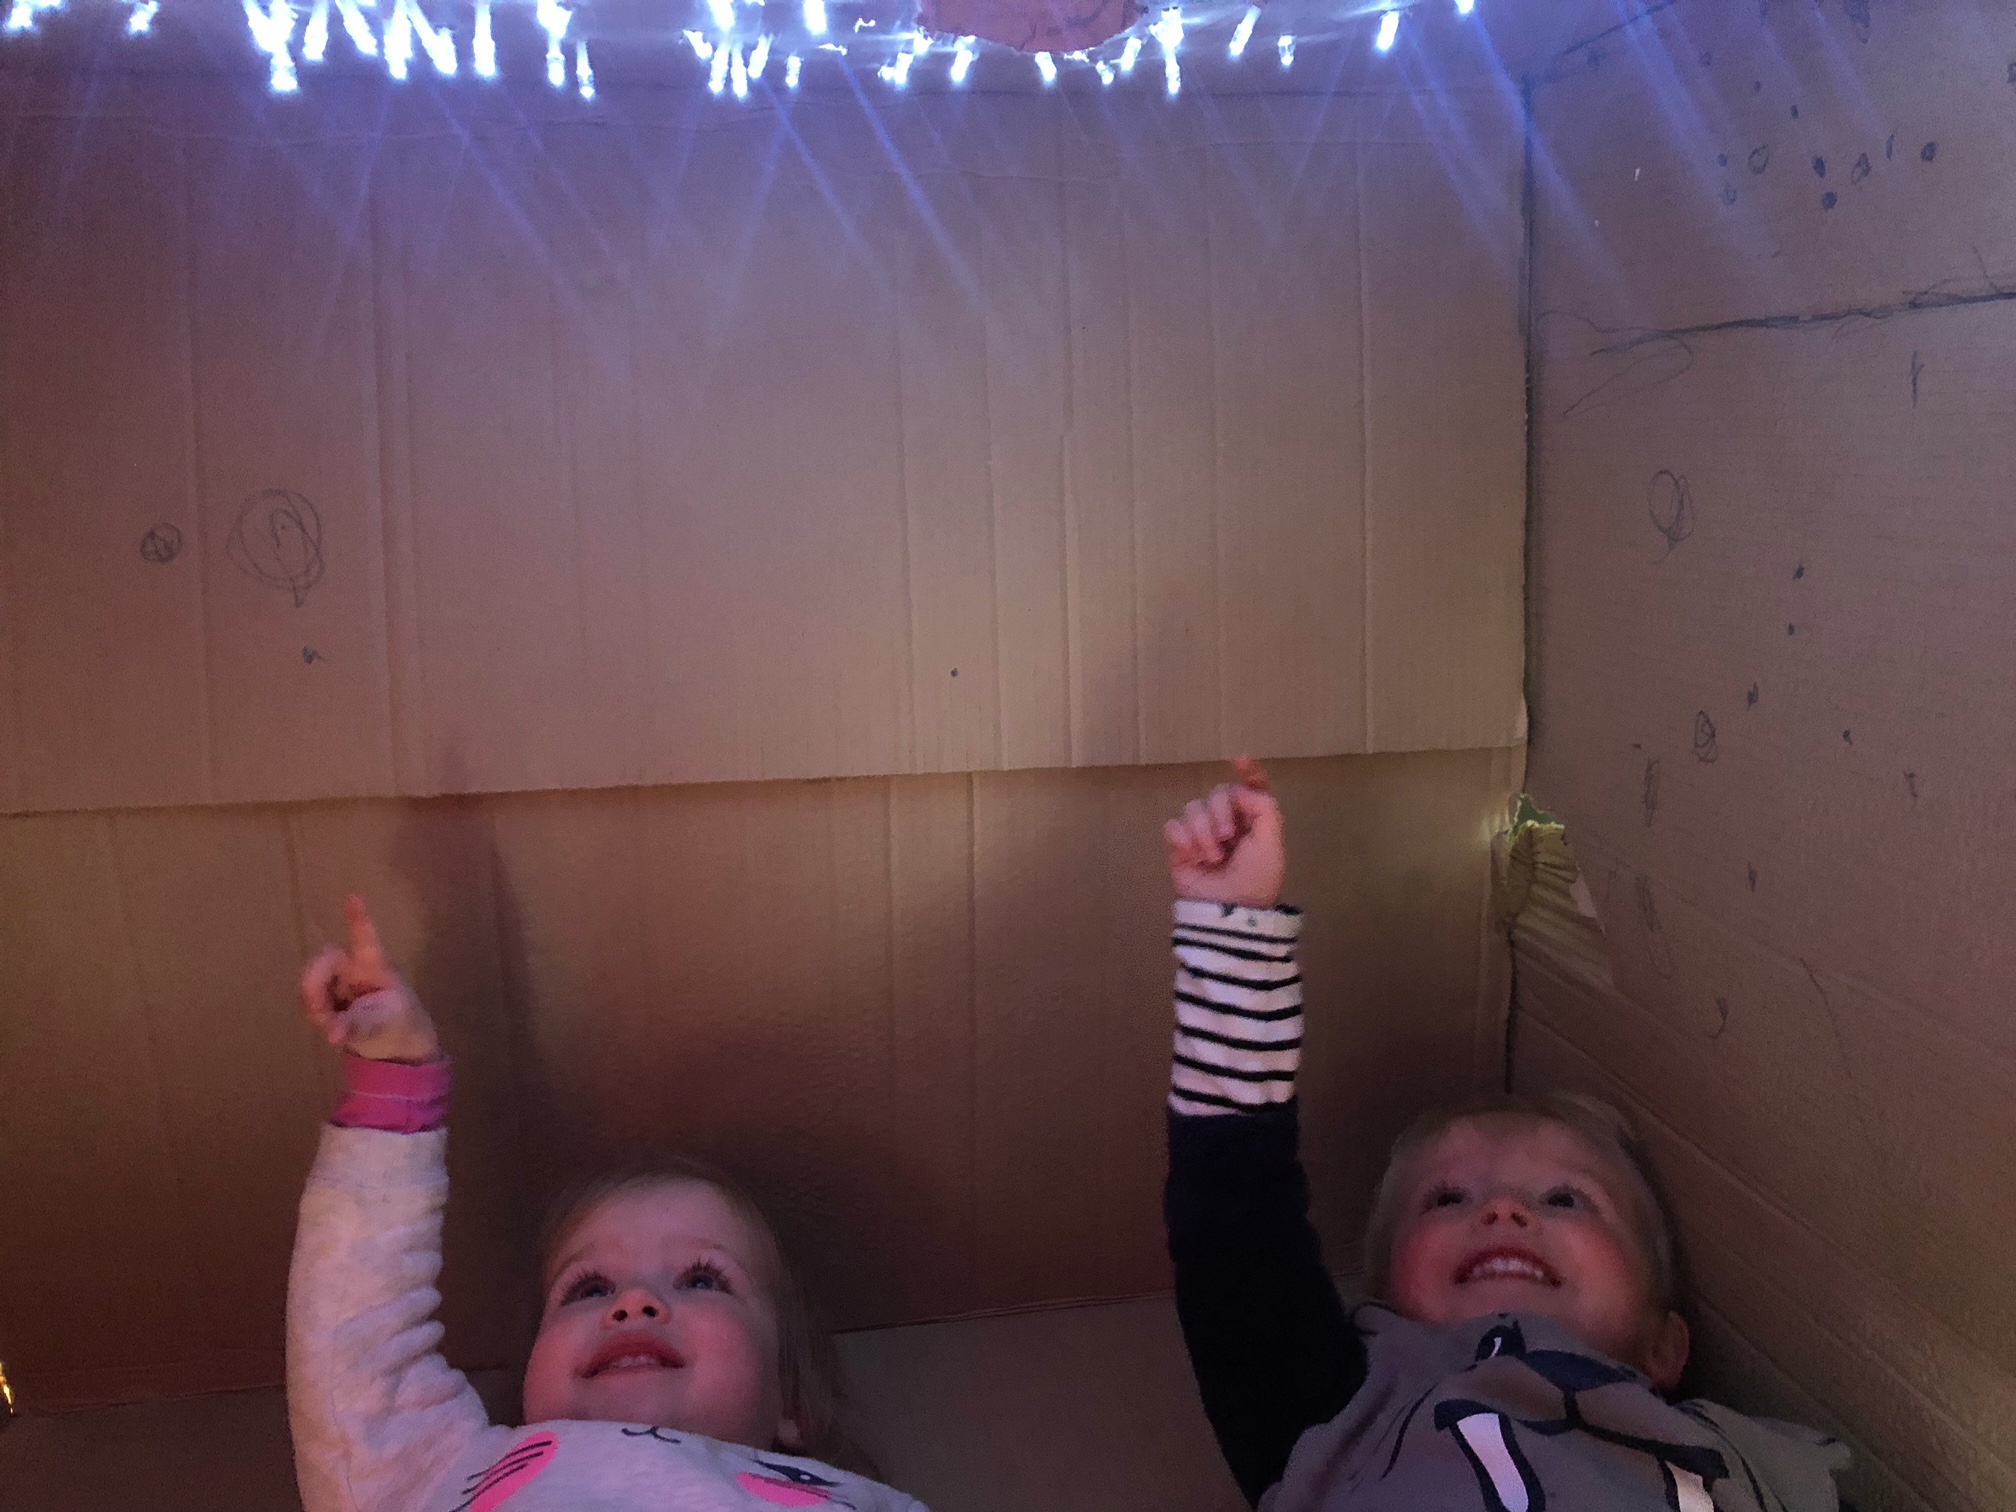
Turning on the Twinkly Fairy Light Stars!
Once all the lights had been put into the little holes, I turned them on for the kids. Twinkly fairy light stars!!!!
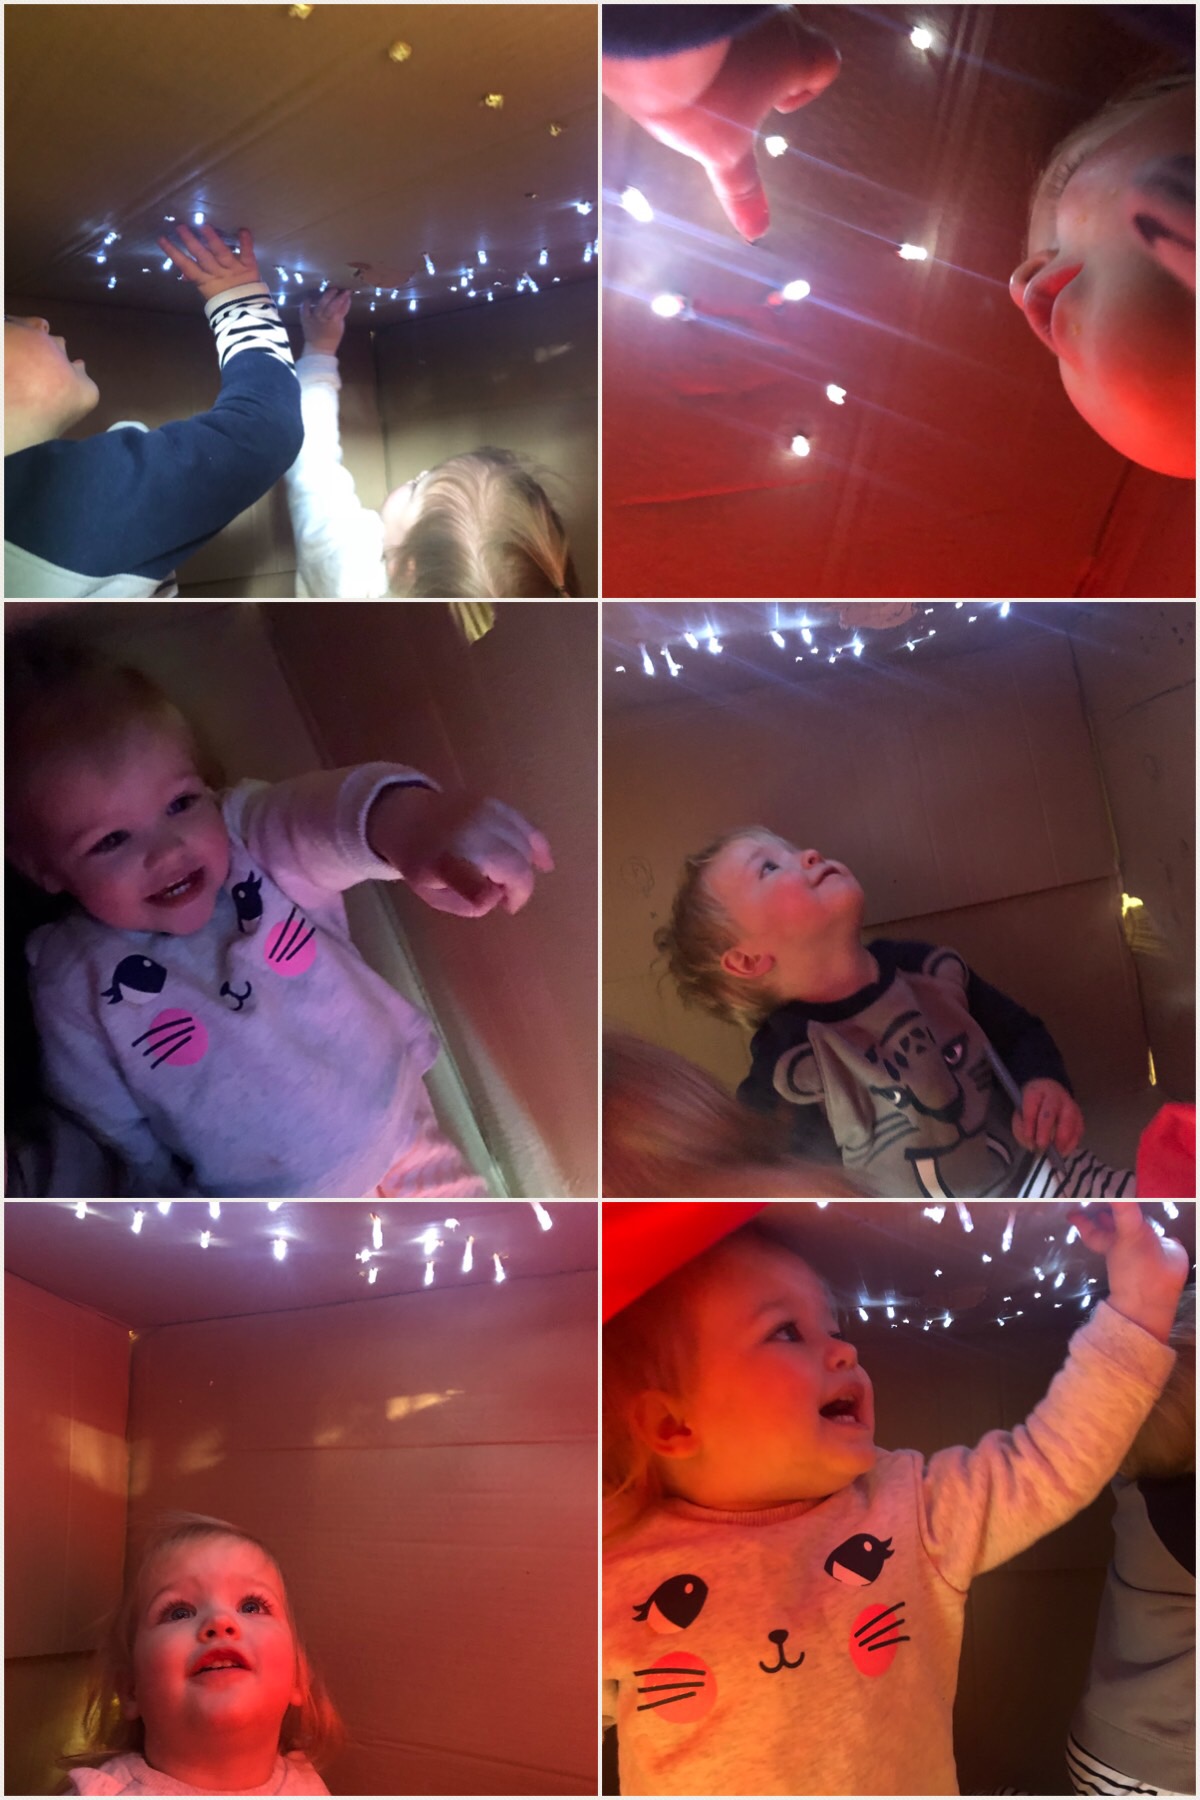
They were truely excited by them and I thought it looked pretty awesome too. The 3 of us lay on our backs and looked up at them while Norah counted them.
There really wasn’t much room for all of us inside the box, so I climbed back out and just enjoyed watching their delight….. before making lunch (because hey that’s why I started making the twinkly fairy light stars in the first place!).
Turning off all the Lights.
Later that night before they went to bed we turned off all the lights in the house except for the twinkly fairy light stars. They really thought it was magical.
This also led to some awesome shadow fun play, which we can talk about another day!
IF YOU LOVED THIS ACTIVITY, SIGN UP TO RECEIVE ALL OUR LATEST IDEAS TO KEEP THE KIDDOS ENTERTAINED.