
Threading with Cardboard Tubes
Threading with Cardboard Tubes.
Threading with cardboard tubes is a great way to use your empty kitchen roll or wrapping paper tubes. It’s an easy activity to set up for the kids and it’s great for fine motor development.
Our box of cardboard tubes is slowly going down. We have used them for a variety of different things; drawing faces on them, stacking and painting with them. We even made binoculars out of them, which was pretty funny. This time I set up threading with cardboard tubes.
Keeping the Kiddos Entertained.
I’m not sure what inspired me, but I was trying to get some things done around the house and the twins were under my feet. What was I going to set up for them today?
Threading with Cardboard Tubes!
The box of tubes caught my eye and my brain went running, thinking about what else we could use them for.
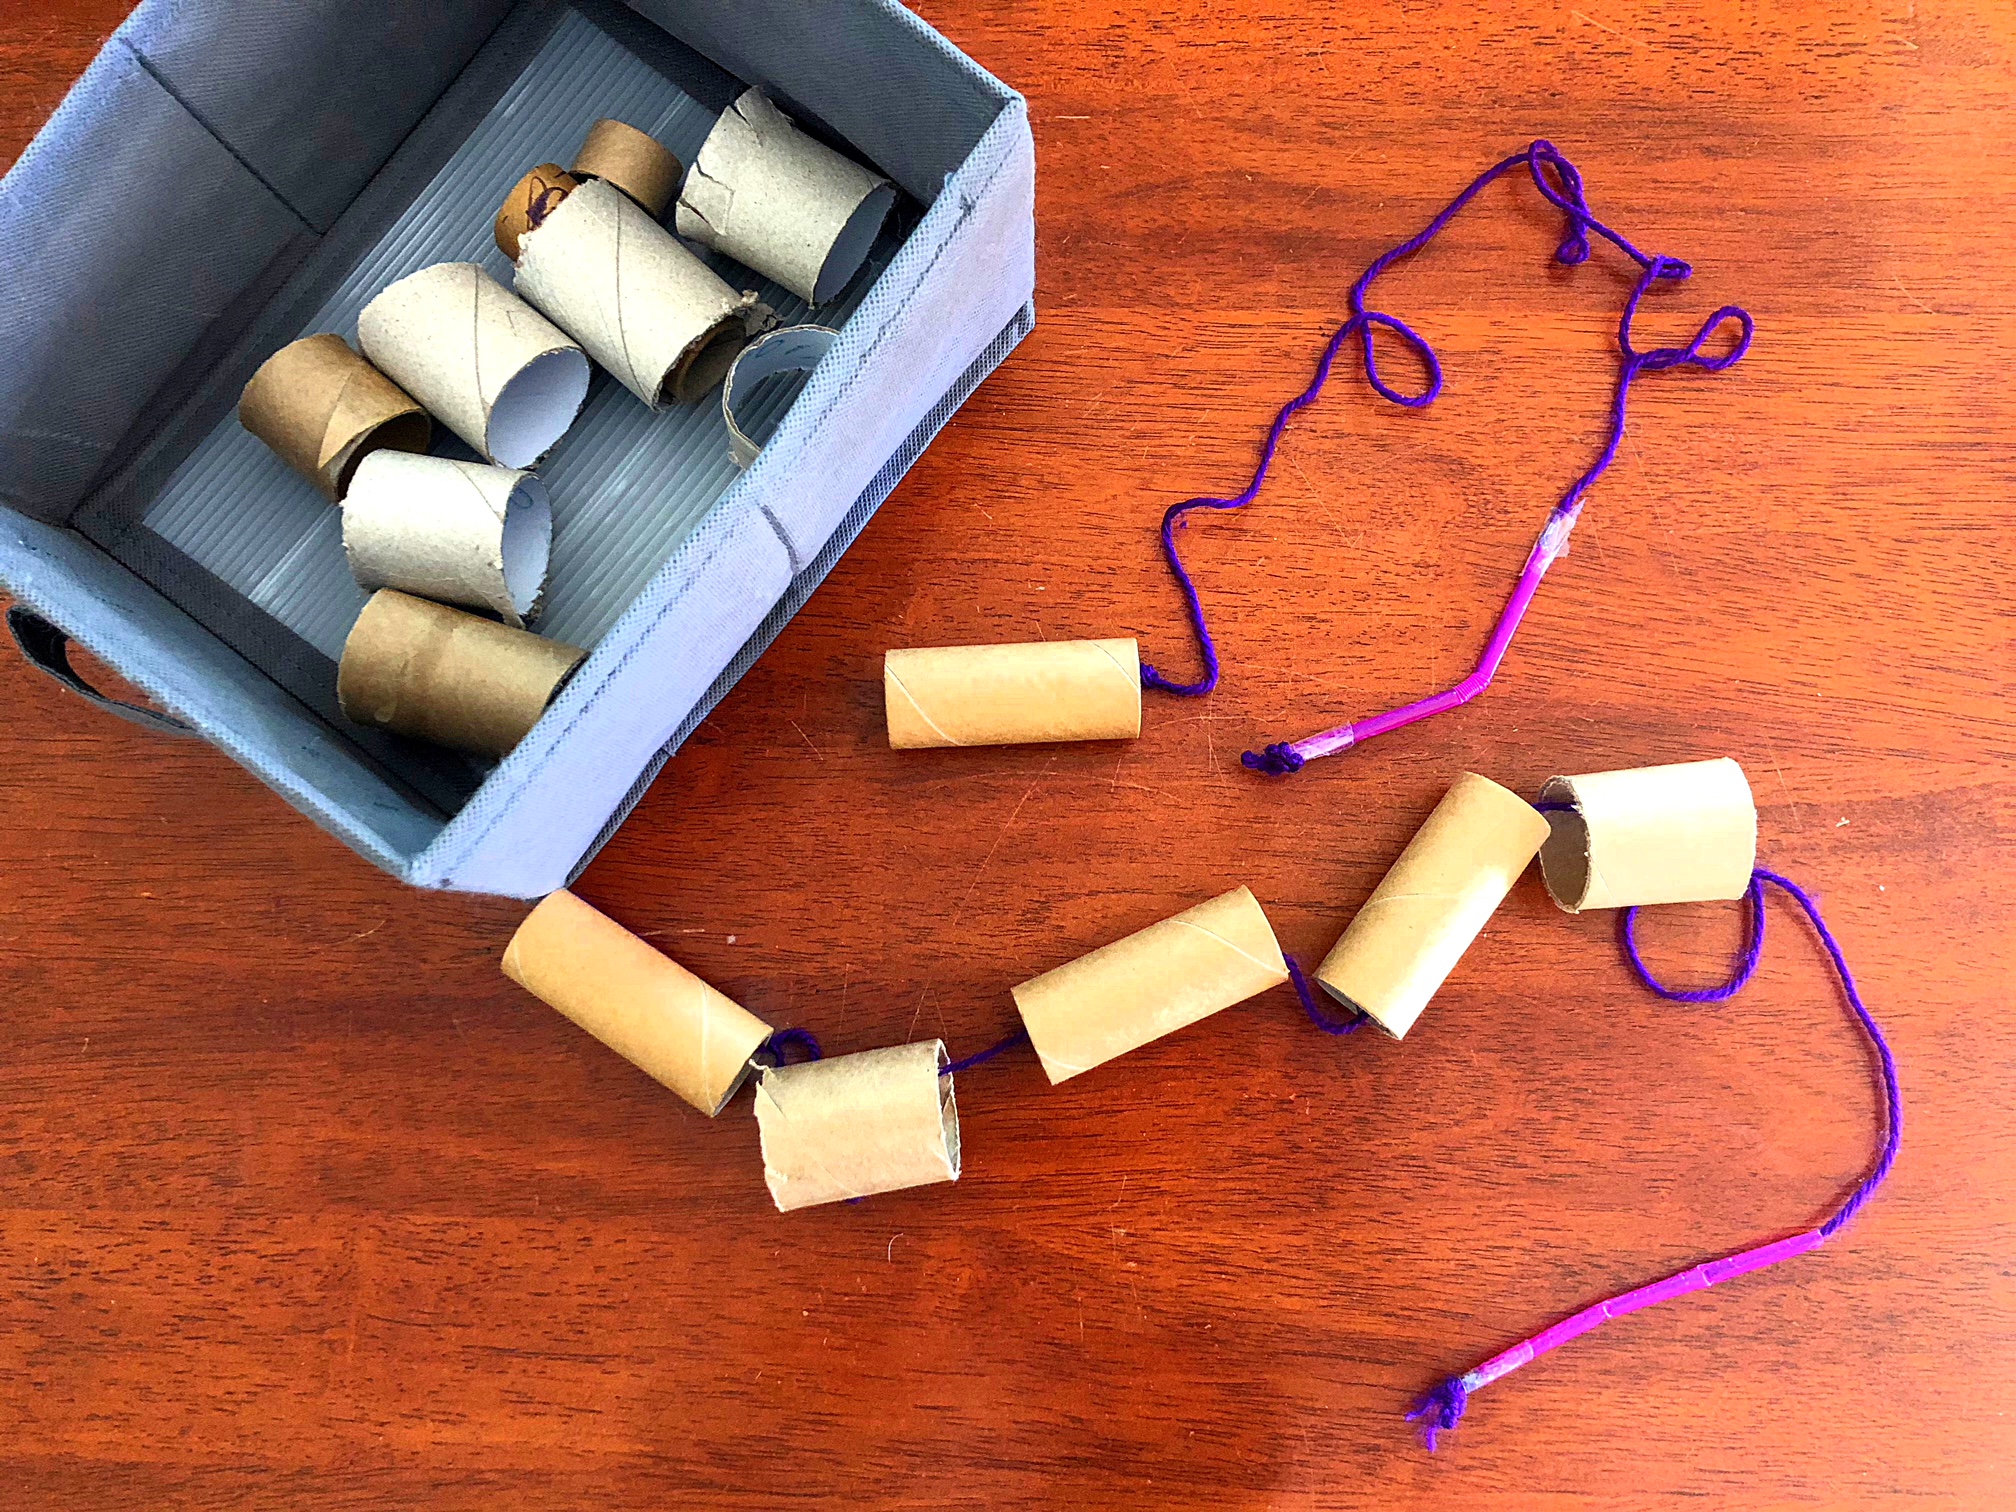
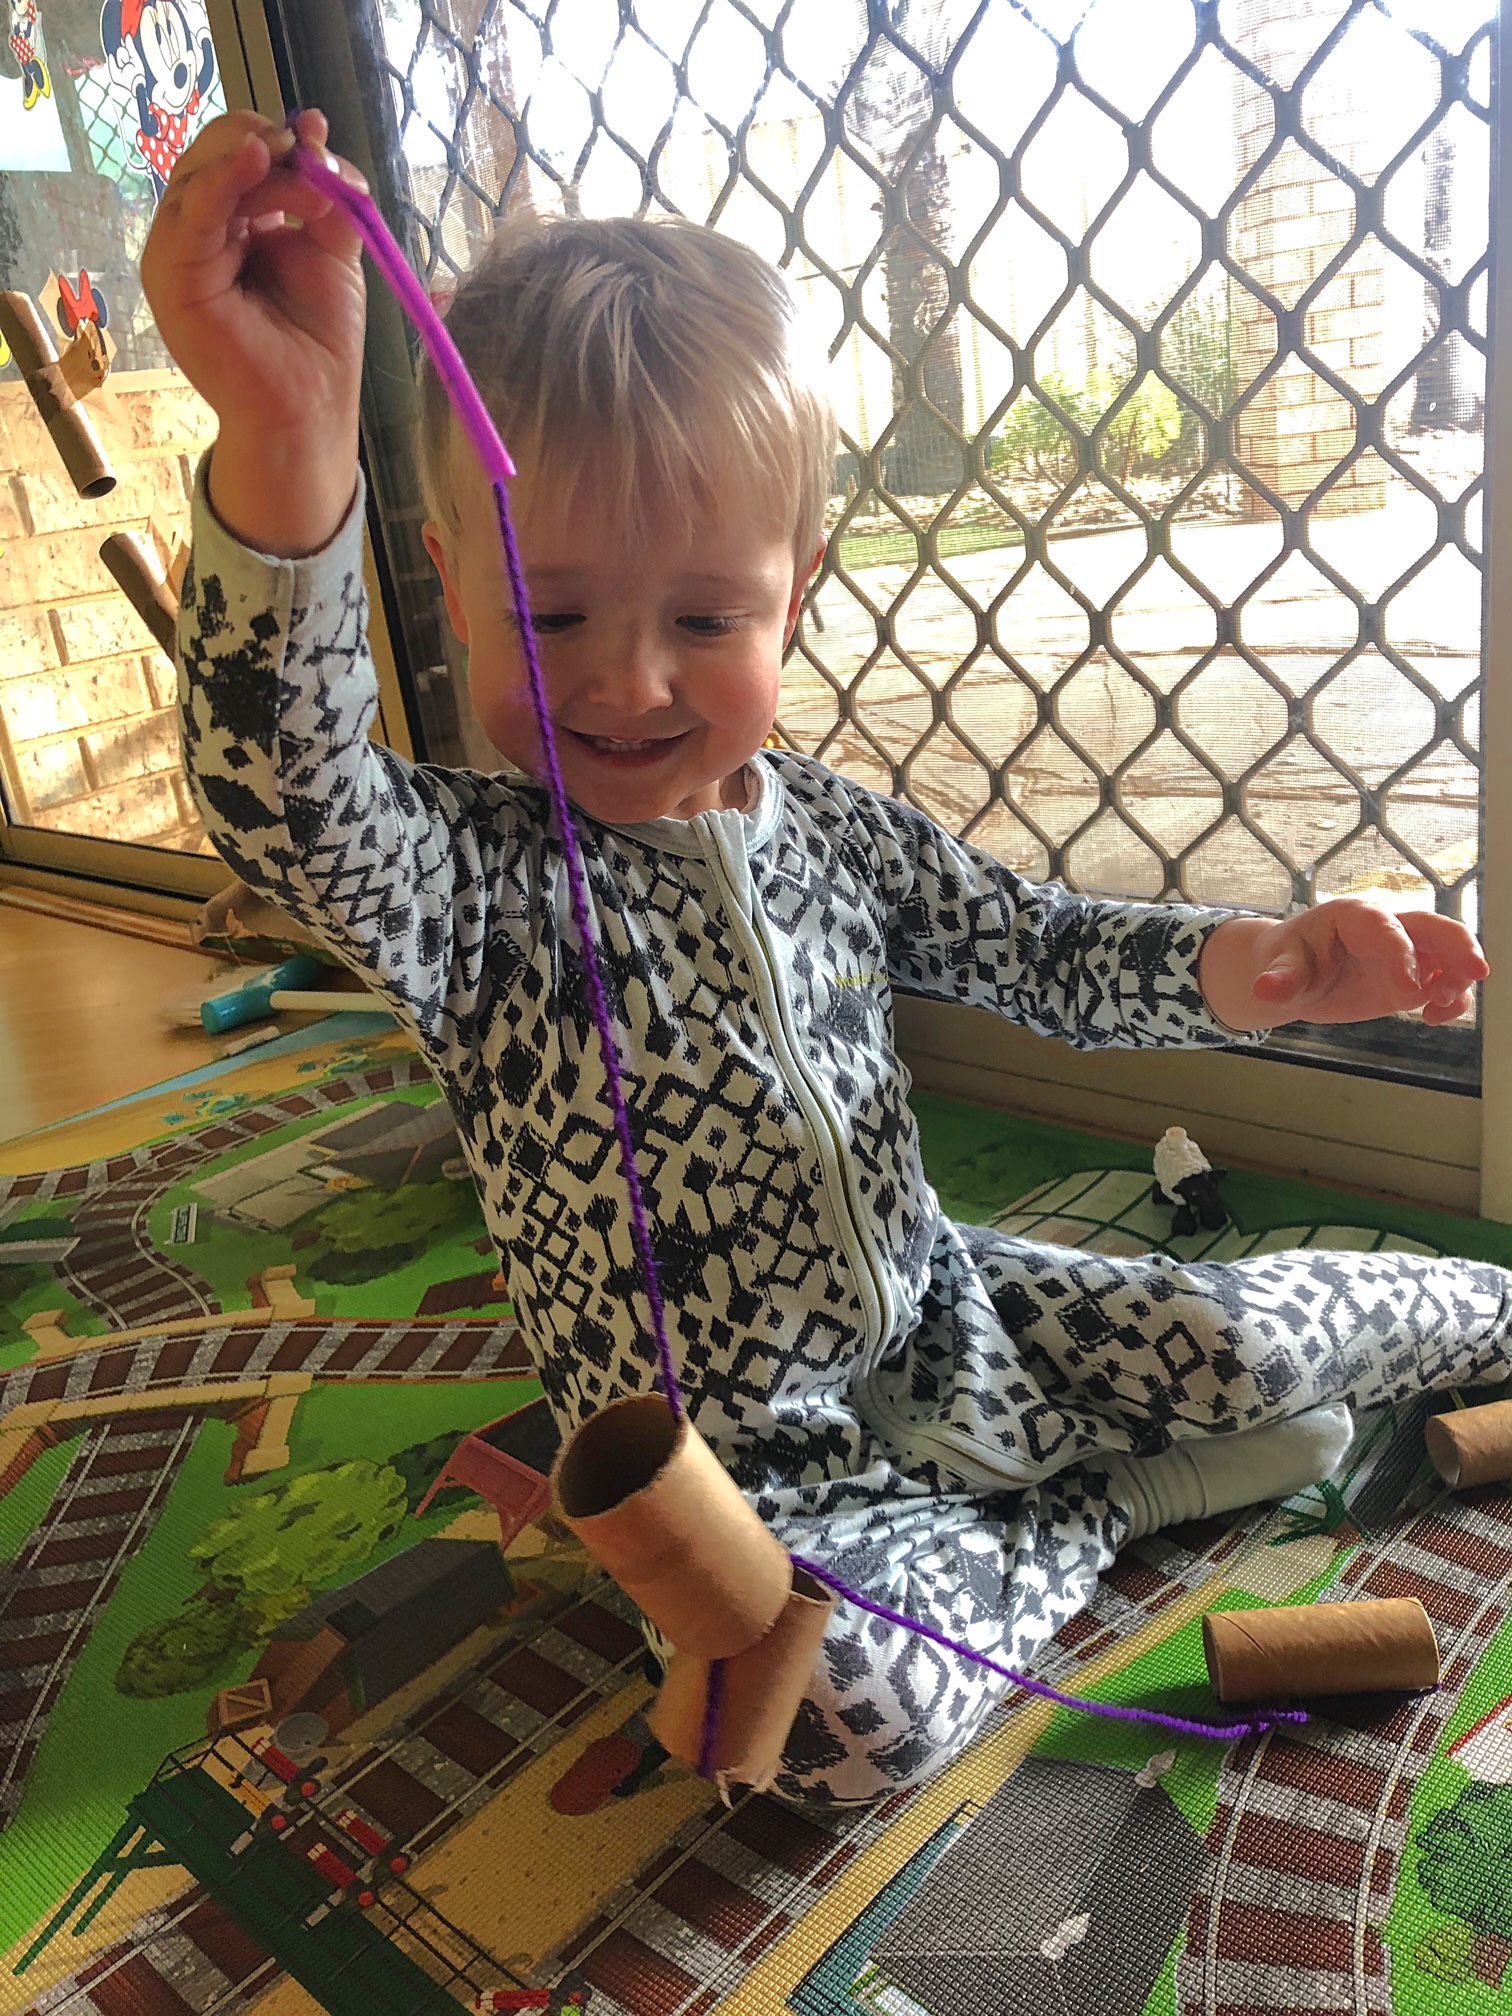
Threading with the cardboard tubes, obviously meant I needed something for the kids to thread them on. All I could find was some knitting wool, but I figured that would work fine.
Instead of tying a knot in the end (because the tubes would just go over that) I tied a piece of tube to the bottom of each piece of wool, to use as a stopper.
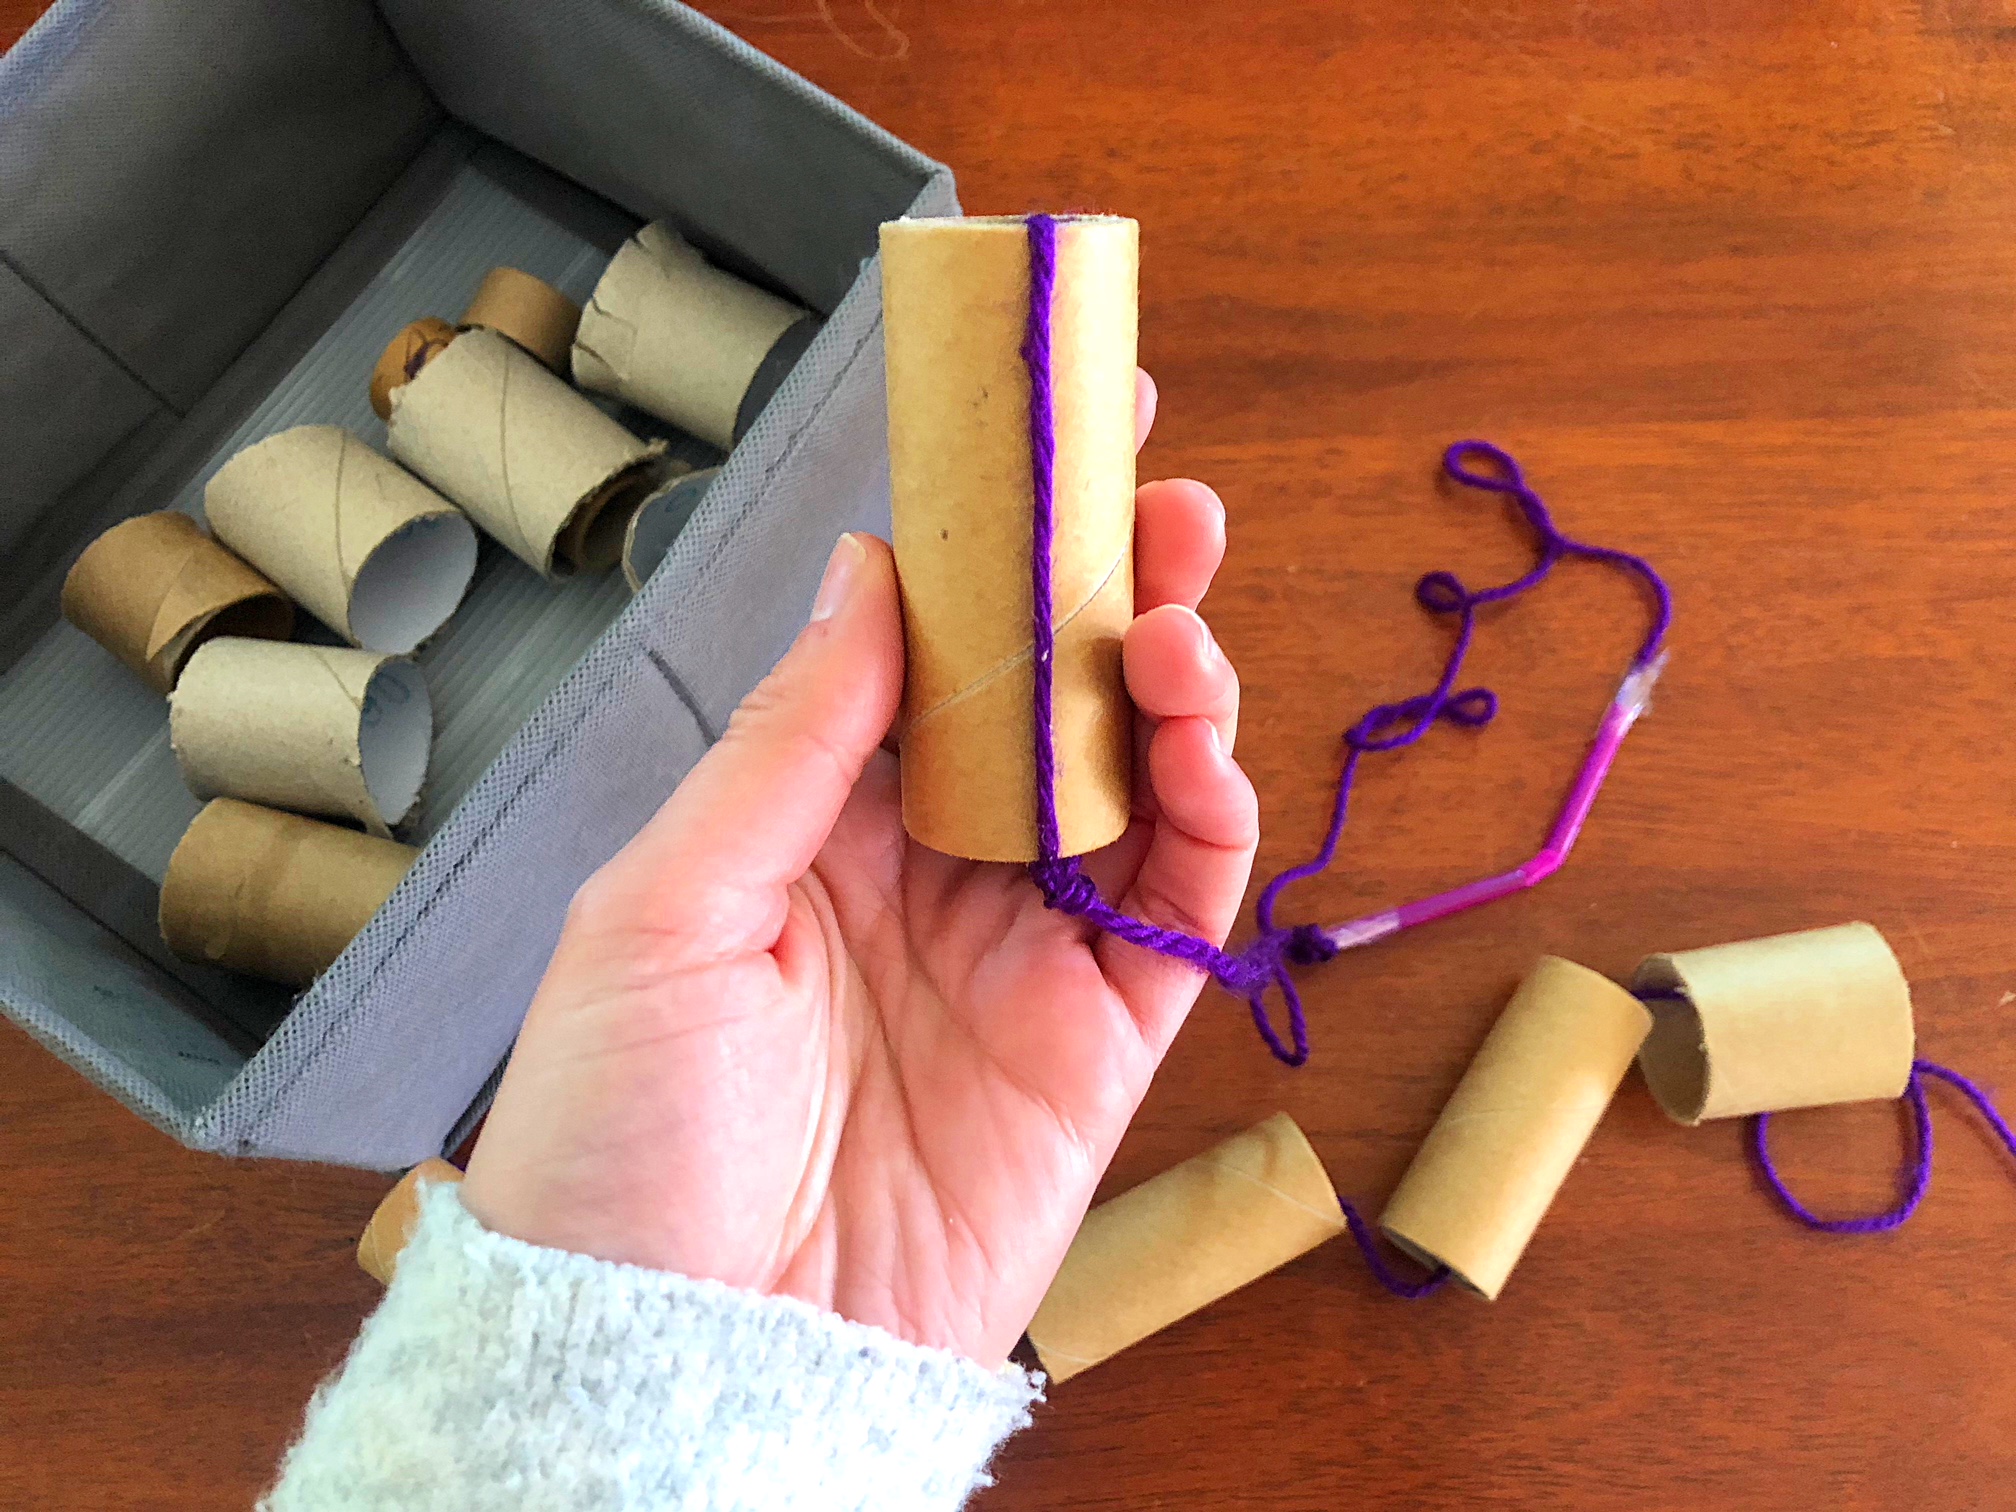
I got a serrated knife and a board and cut the long tubes into smaller bits. Then we sat down on the mat so I could show the kids how to do threading with the cardboard tubes.
First Attempt.
Honestly the first time we did this experience they didn’t have much interested in watching me thread them. Instead they waved the string around and pulled the one tube (that I tied as the stopper) along the floor kind of like a pull along toy.
I tried a couple of times to show them, but they had their own ideas. It kept them busy though and that was the whole point of the experience in the first place. So I left them to it.
Second Attempt.
Later I tried again, only to find that the wool was too soft for them to thread through the tubes. It kept bending and the twins couldn’t figure out how to hold it straight and pull it through.
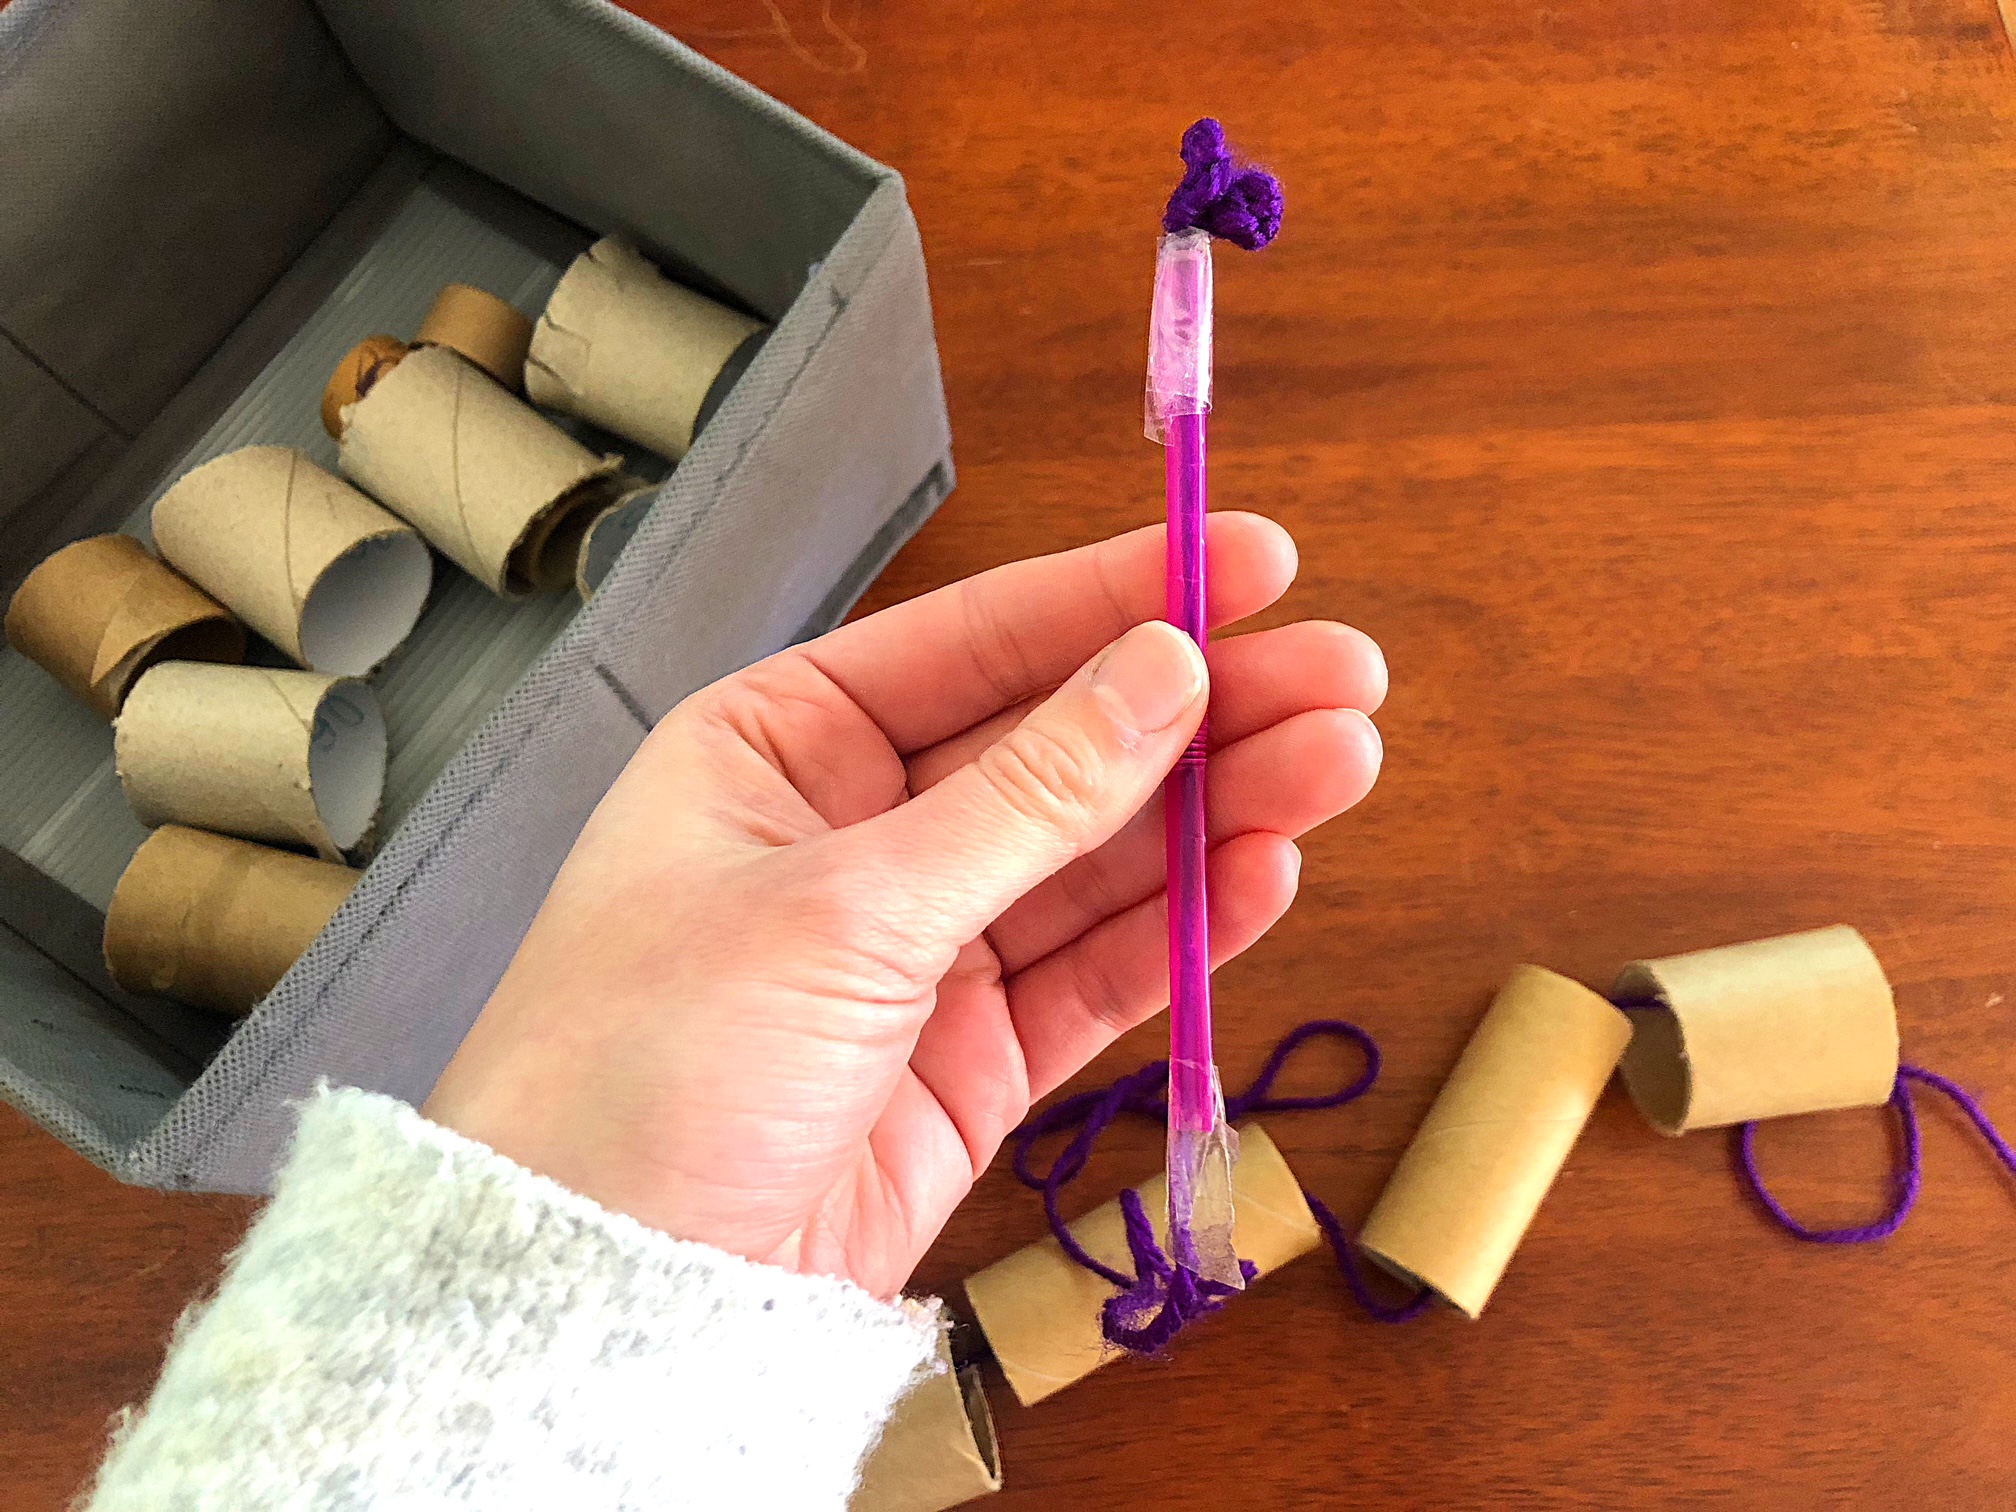
My mum had an idea to tie pencils to the end of the wool to give them a solid tip to thread. I thought that was a great idea, but changed it slightly and used some straws. I really didn’t want them to be carrying pencils around the house. We’ve had enough wall art when I set them up at the table with pencils.
I cut a plastic straw in half and threaded the end of the wool all the way through. This time I did tie a lot of knots at the end to keep the straw on the end of the piece of wool.
It sort of worked. After showing the kids a few times, they managed to pull the straw off and I was back to re threading them onto the wool. This time, I tied more knots and I taped the straw to the wool too.
Third Time’s the Charm.
Success!! I had 2 pieces of wool with a tube tied to each end as a stopper and a straw threaded through the other end to make it easier for them to thread the tubes.
Cole surprised me because he was into it than Norah. He sat and carefully threaded all the little pieces that I had cut and then asked for some more. Sometimes he put the straw in the wrong way or it took a few goes to get the tube to thread on, but he seemed to like the challenge.
He was proud of his efforts. Lying the wool down with all the tubes lined up so that I could help him to count how many there were.
Norah put 3 on her wool and then again used it as a pull along toy, walking around in circles in the kitchen.
Sometimes it’s the simplest of things that keep them busy for the longest.
IF YOU LOVED THIS ACTIVITY, SIGN UP TO RECEIVE ALL OUR LATEST IDEAS TO KEEP THE KIDDOS ENTERTAINED.